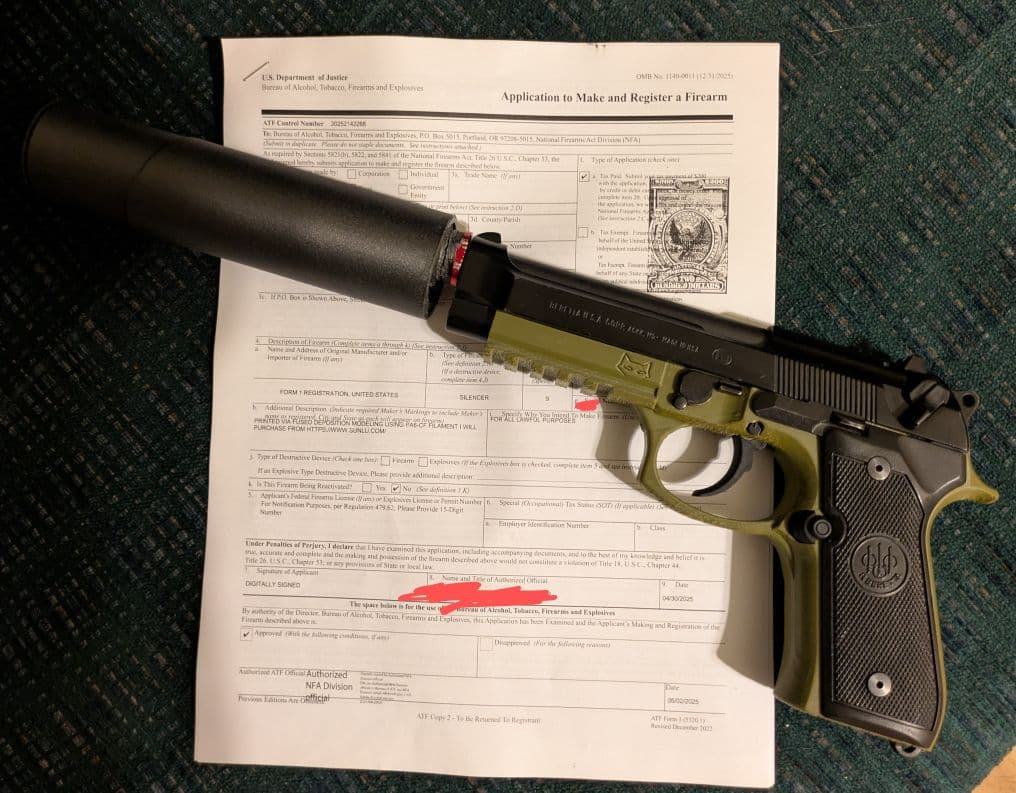
File a Form 1 for Suppressors and SBRs with ATF eForms
Let's keep this simple. You want to build an NFA item (like a suppressor or SBR), but you don't want to drown in paperwork or wait forever.
The ATF eForms system is the answer. It's faster than paper forms and, once you get the hang of it, surprisingly manageable. This guide breaks down the process for filing a Form 1 to legally make your own NFA item.
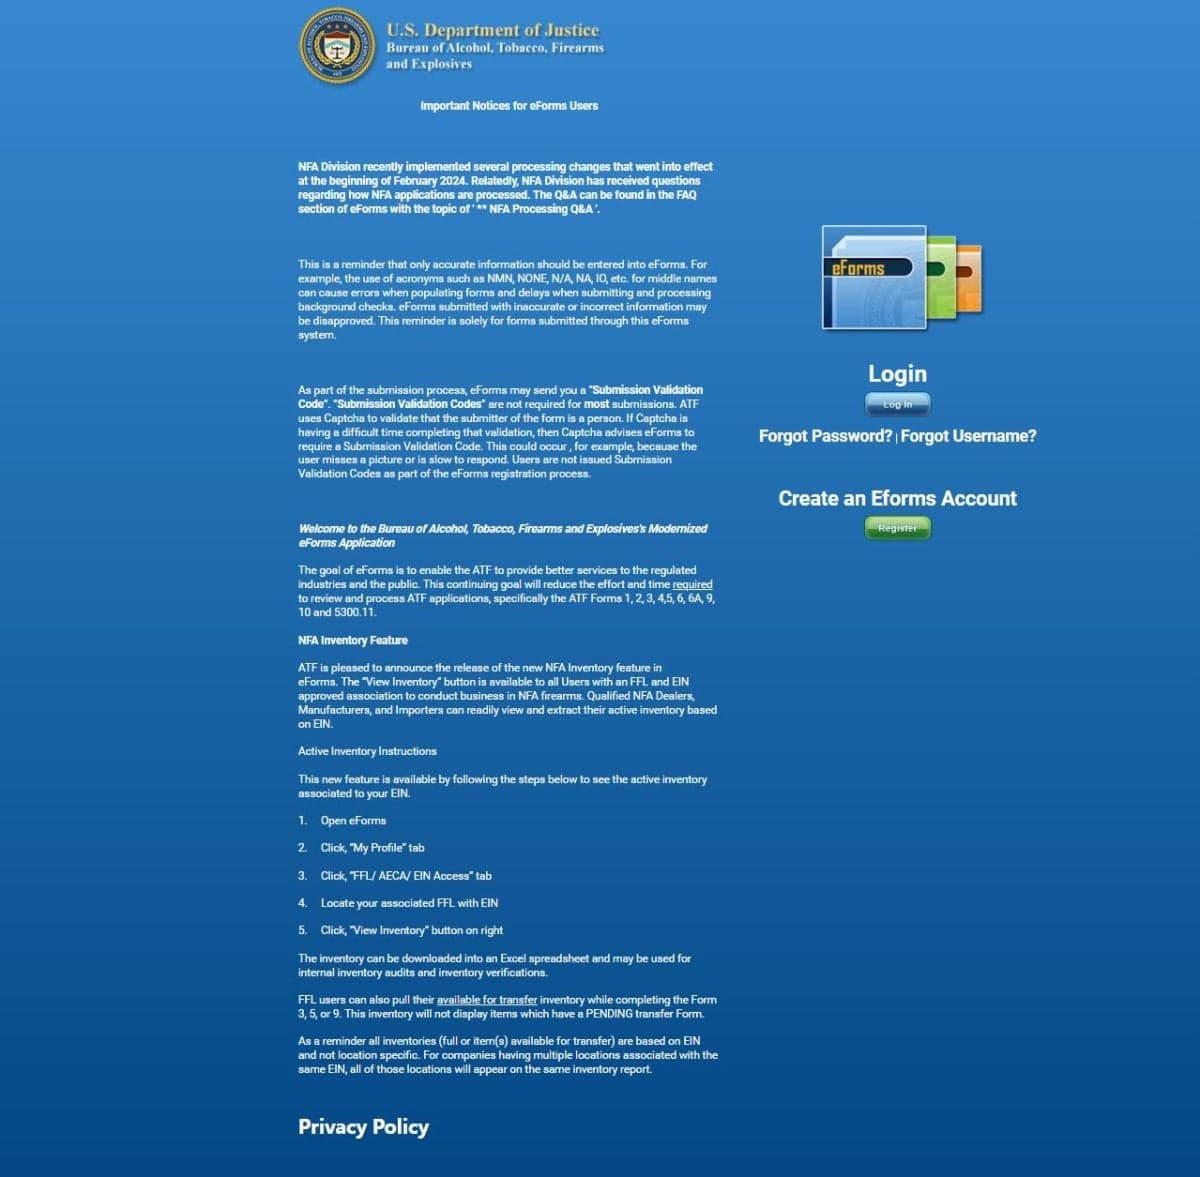
Step 1: Create an eForms Account
First, head over to eforms.atf.gov and create an account.
Pro tip: Use a desktop or laptop. The site is not mobile-friendly. The sign-up process is standard government fare—if you can sign up for a streaming service, you can handle this.
Step 2: What are you making?
Since we are focusing on Form 1 (Application to Make and Register a Firearm), you are likely doing one of two things:
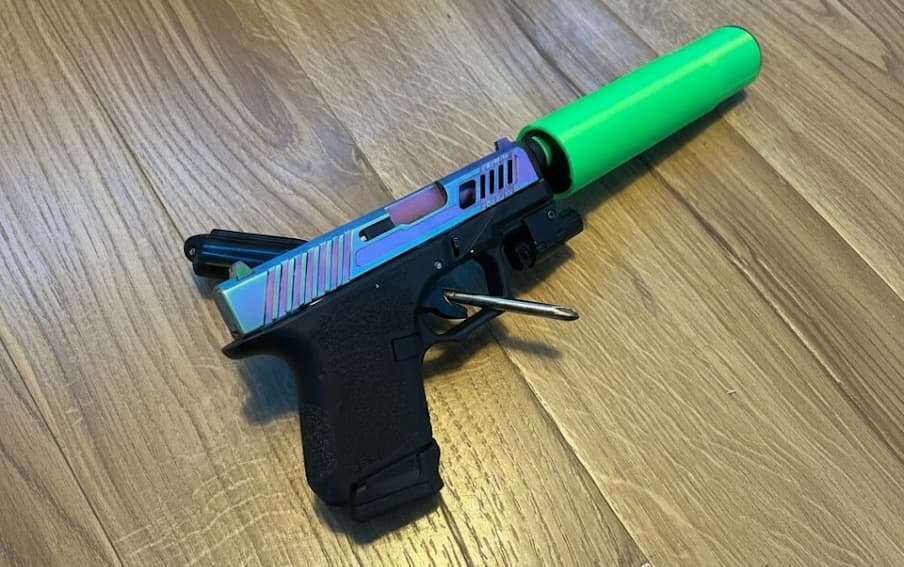
- Building a Suppressor: This covers 3D printed projects (like the OP9 or FTN4) or solvent trap kits. You are the manufacturer.
- Making a Short Barreled Rifle (SBR): This usually means taking a pistol (like an AR pistol or MP5 clone) and putting a stock on it. In the eyes of the ATF, you are "making" a new firearm (the SBR) from the existing one.
Step 3: Fingerprints & Photos
Before you start filling out the form, you need two things digital: a passport-style photo and your fingerprints.
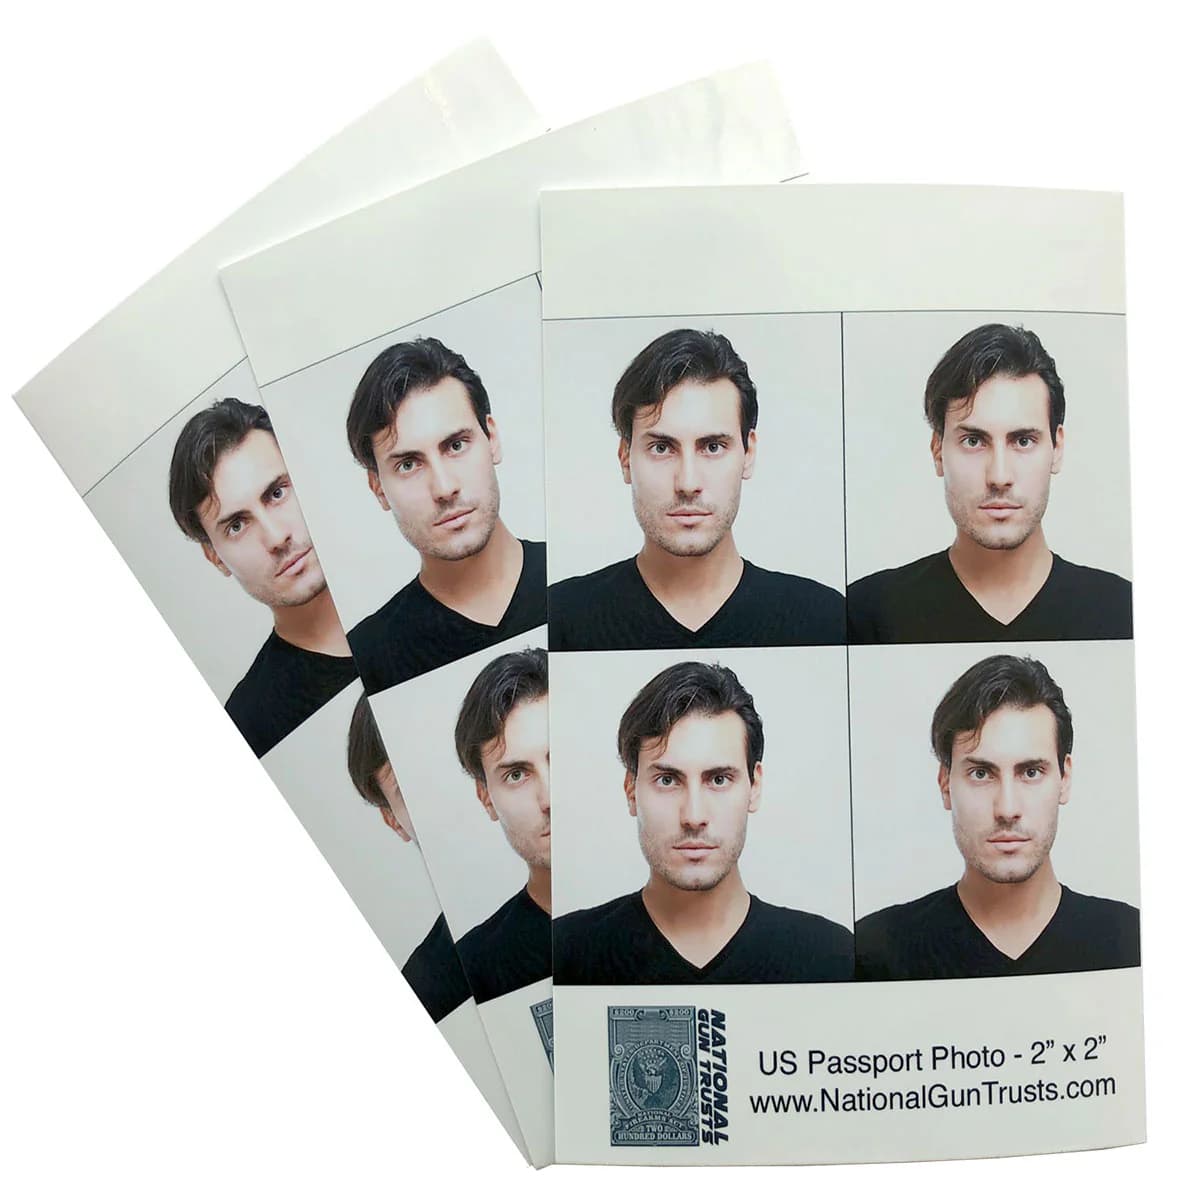
The Photo
This is easy. Take a selfie against a plain white background. Shoulders and head visible, good lighting, no hats or glasses. Crop it to a square. Done.
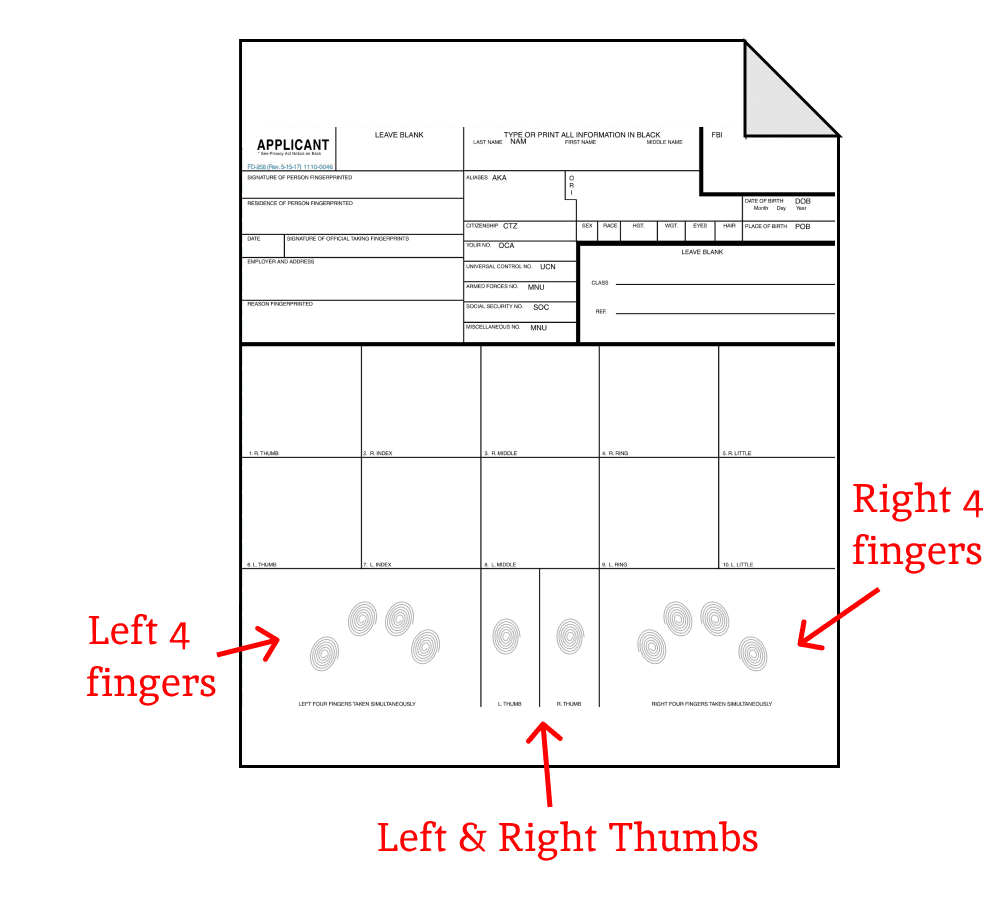
The Fingerprints (.EFT File)
You used to have to mail in paper fingerprint cards, which was a hassle. Now, you can upload a digital file called an EFT file. It results in a much faster approval process.
There are a few ways to get this:
The Best Way: Open Pew Project EFT Tool
Why go to a store when you can do it at home?
- Cheapest Option: Costs significantly less than UPS or print-scanning services.
- Fastest: Generate your file in minutes from home. No appointments.
- Supports the Cause: Proceeds go directly back into developing open-source suppressors.
Other options: You can go to a UPS Store that offers fingerprinting services. They can scan your prints and email you the file. It works, but you'll likely pay more, need an appointment, and deal with the "guy ahead of you who didn't book one."
Step 4: Filling Out Form 1
Start a new Form 1 on the eForms site. The application is broken into several screens (sometimes called "train stops"). Here's what to expect:
- Applicant: Select "No FFL".
- Application Type: Select "Tax Paid" ($200 fee). Note: You will not actually need to pay $200. It's just there because some form1 items (not suppressors or SBRs) still require a fee
- Individual or Trust: Select "Individual" unless you have a specific reason to use a trust (like sharing access with family members). Individual is simpler and faster.
- Responsible Persons: This is where you upload your passport photo and EFT fingerprint file.
- CLEO: Enter the info for your Chief Law Enforcement Officer (Sheriff or Police Chief). Google or AI is your friend here.
- Line Item (The Gun/Suppressor):
- Manufacturer Code:
- If making a Suppressor or home-made firearm: Use FMI (Form 1 Registration).
- If making an SBR from an existing gun: Use the Original Manufacturer code (e.g., "Glock", "Anderson", etc.) exactly as it appears on the receiver.
- Manufacturer Name:
- For Suppressors: "FORM 1 REGISTRATION".
- For SBRs: The original manufacturer's name.
- Country: UNITED STATES.
- Model:
- For Suppressors: Create your own (e.g., "OP9") or select an existing model from the list. NOTE: creating your own model will result in a longer approval process.
- For SBRs: Use the exact model name from the original receiver.
- Caliber: Be specific (e.g., "9" and "mm"). Do not use "Multi".
- Overall Length: Estimate the total length (SBR with stock extended).
- Serial Number:
- For Suppressors: Create a unique one.
- For SBRs: Use the original serial number found on the receiver.
- State: Your current state of residence.
- Additional Description (Suppressors only): This is a text field where you describe how you'll build the suppressor. Include: materials you'll use, construction method, and tools. Example: "Silencer will be 3d printed with serial number embedded model at required depth and size " If you don't have materials yet, state: "I do not currently possess any parts or materials. I will purchase after Form 1 approval."
- Manufacturer Code:
Important: Whatever Model and Serial Number you enter here MUST be engraved on your item later.
Suppressor Form 1: Uploading Materials Documentation
For Suppressor Builds Only
After entering your suppressor specs, you'll reach the Line Item – Electronic Documents screen. This is where you upload your build documentation. Upload the following:
- A sketch or diagram of your design (even a basic hand-drawn sketch works)
- Photos of raw materials you plan to use (aluminum tubes, baffles, etc.)
- Screenshots from vendor websites showing materials you'll purchase
Note: If you don't have materials yet, use stock photos from vendor sites—just don't claim to own items you don't have.
Step 5: Notify CLEO
After you submit, you'll get an email with a copy of your form for the CLEO. Email it to their official email address or physically mail it/drop it off to them. They don't need to approve it or do anything with it; it's just a notification requirement. In fact I would wager they do this to every one they get:
Update: The ATF has proposed eliminating the CLEO notification requirement sometime in 2026. Check current ATF guidelines when you file.
Step 6: The Wait
Sit tight. Wait times vary, but eForms are generally much faster than paper. You might get approved in days or weeks. When approved, you'll get the Tax Stamp in your email.
Note: Right after you submit you'll get an email with a cover letter that says you need to send in your fingerprints even if you submitted the form with an EFT file. As long as the cover letter says "REC'D" in the lower right side, the EFT file was "received" and you don't need to send anything in.
Step 7: Engraving
Once approved (and before you fully assemble your item), you must engrave it. The engraving must be at least 0.003 inches deep and 1/16 inch tall. Required info:
- Your Name (or Trust Name)
- City and State where it was made
- Serial Number (matching your Form 1)
- Model (matching your Form 1)
- Caliber
For SBRs made from existing firearms: You must still engrave your Name/Trust and City & State onto the receiver, barrel, or frame. The original serial number stays as-is—you don't re-engrave it.
For Suppressors (especially 3D printed ones), there are three primary methods:
Method 1: DIY Punch
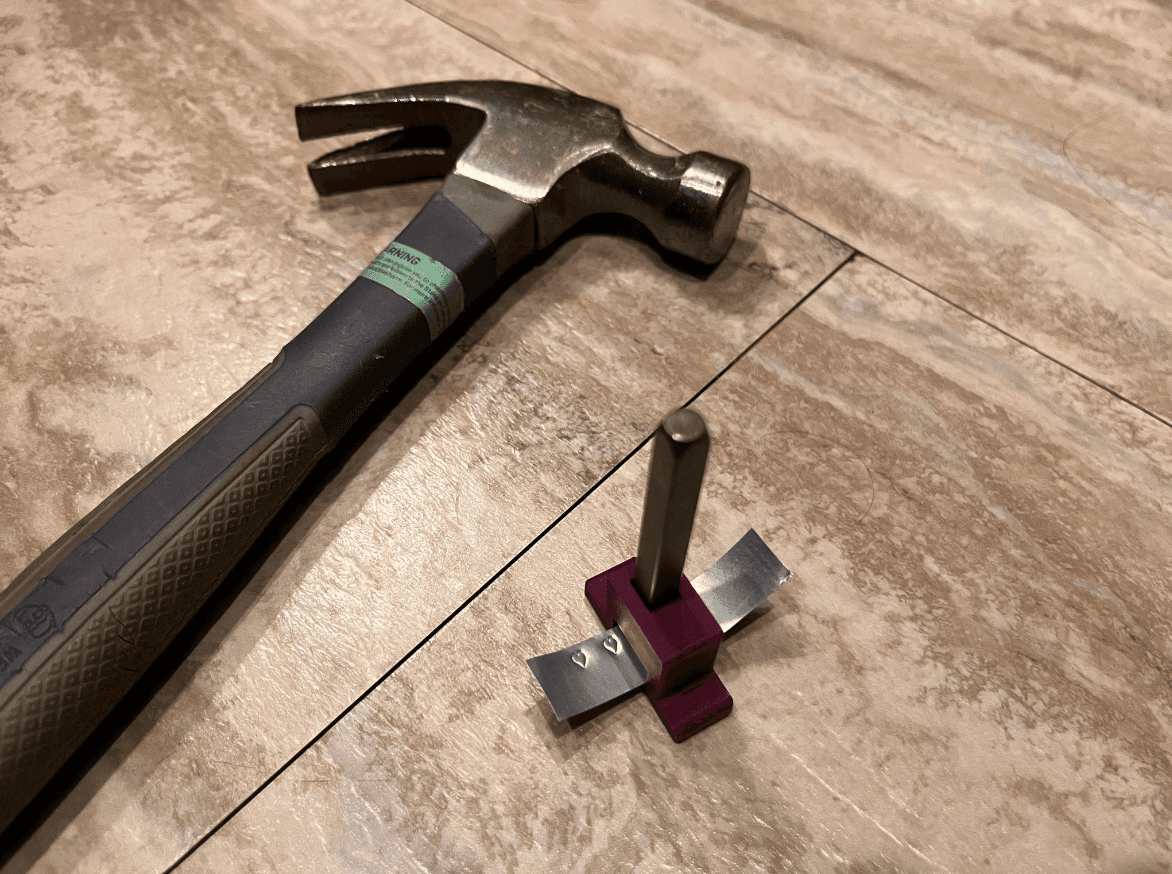
Low Liability & Private. Manually punch your info into an aluminum strip (like from a soda can) or washer and epoxy it to the tube. OP9 & FTN4 have jigs to help you do this.
- Cheap and amazon ships the punches fast.
- No PII shared with any vendor
- Requires a punch set (amazon link).
Method 2: Printed Serial
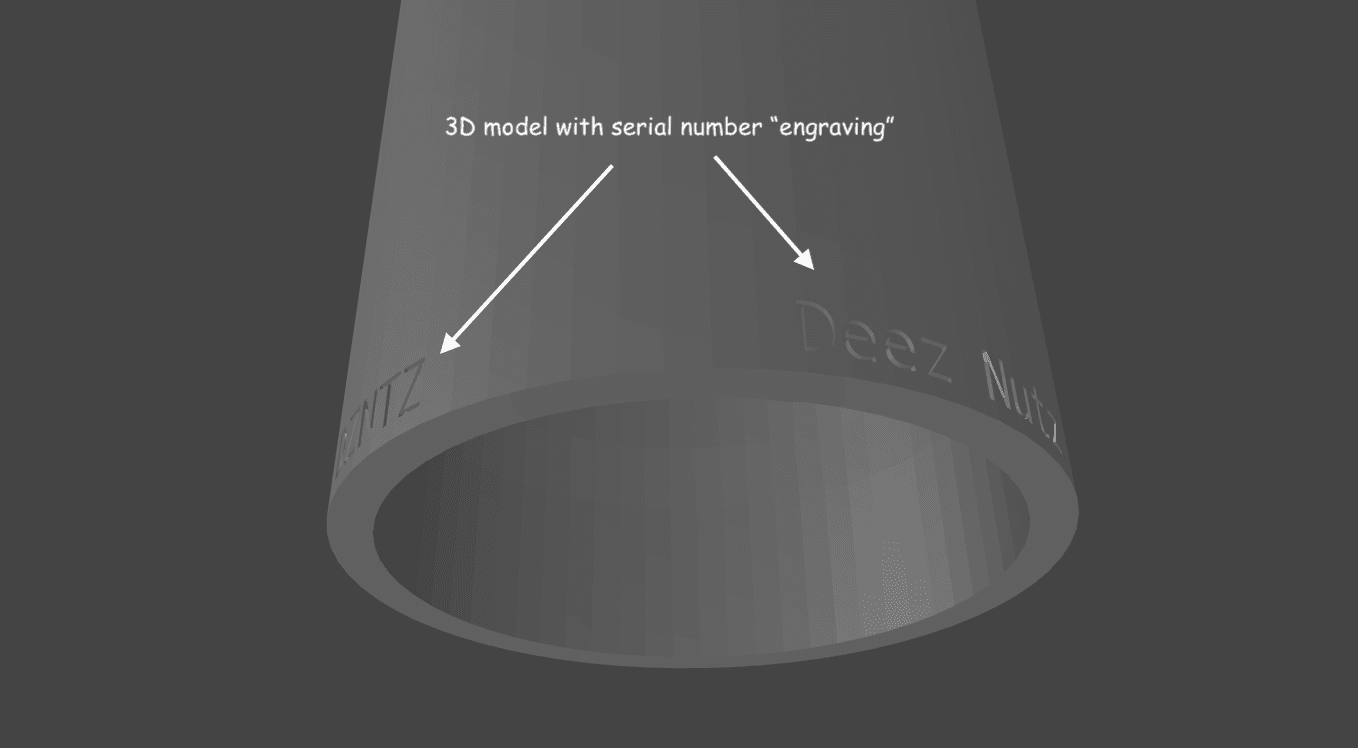
Fastest/Cheapest to implement. Print the serial number directly into the model itself. You must declare this method in the "Additional Description" on your Form 1 to reduce liability.
- No wait time for shipping anything
- Requires form1 to have been filed with description of this method
- For OpenPew cans, use the Can Customizer to generate it.
Method 3: Heat-Set Tag
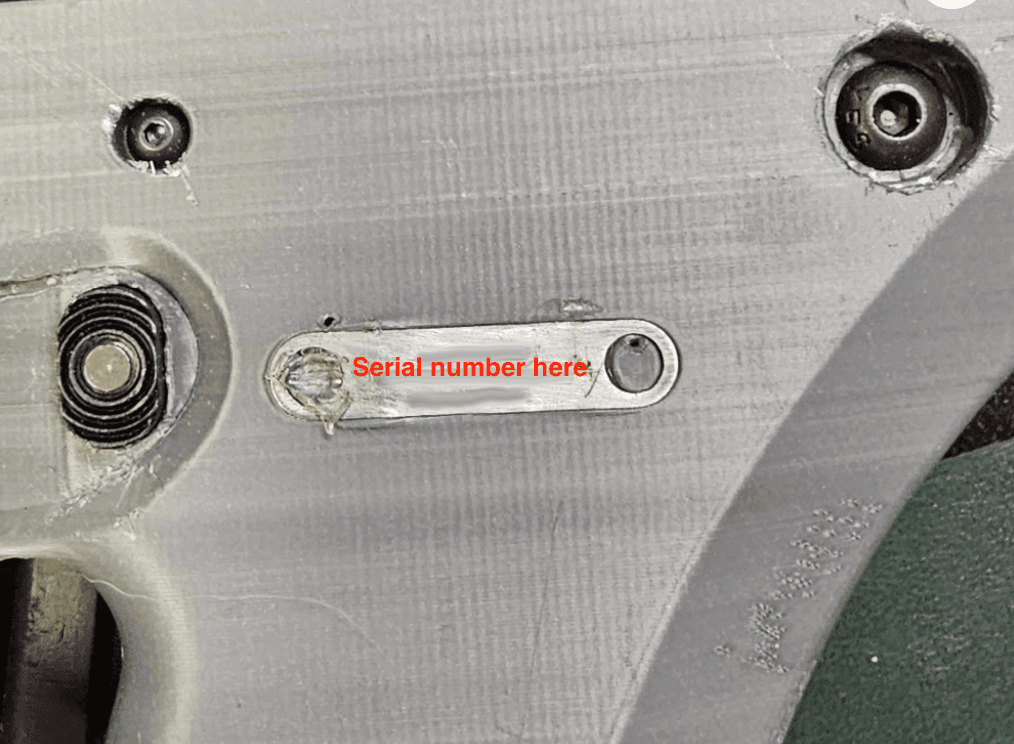
Looks Pro & Low Liability. Use a professionaly-made metal tag (like from MAF Arms) that you heat-set into the body.
- Very safe for legal compliance
- Requires sharing PII with a vendor
- Costs money and takes time to ship
- MAF Tag Link
Final Thoughts
It's a process, but it's the legal way to enjoy the fun stuff. And with digital tools like our EFT generator and the eForms system, the barrier to entry is lower than ever.